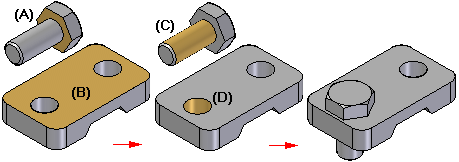
The Insert option is typically used to place axial-symmetric parts (such as bolts or nuts) into holes or on protrusions. The Insert option combines a mate relationship and an axial align relationship.

On the command bar, click the Insert button in the Relationship Types list.
![]()
On the part being positioned, select the planar face to be mated (A).
Select a fully positioned part in the assembly.
On the part in the assembly, select the planar face to which the first part is to be mated (B).
On the selected part, select a cylindrical face to be aligned (C).
On the part in the assembly, select a cylindrical face (D).
Press Enter.
Note:
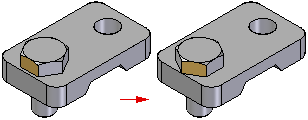
After the mate and align relationships are applied, the rotation angle is fixed automatically and can be edited later.
Tip:
When using the Insert option, you can apply the align relationship first and the mate relationship second.
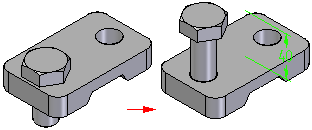
If the rotation angle is critical to the orientation of the part, you can edit the axial align relationship to use the Unlock Rotation option and then apply another relationship to control the rotation angle. For example, you can apply an angle relationship to define the rotation angle with respect to another part.

For the mate relationship, you can type an offset value on the Place Part command bar in the Offset Value box. You can change the offset value later. The offset can be fixed or you can define a range.
